Note (2024-08-31): This post was written in February 2020. Support for building and deploying Jekyll sites on GitHub pages has been streamlined in the meantime and can now be performed with stock actions. See jekyll-build-pages and deploy-pages.
This is a meta post that describes the technical updates I recently performed to this very website. Since length and complexity of the articles were growing, I decided it was time to switch to Jekyll Scholar as the bibliography management tool. This required a little refactoring and a change to the build system used to generate the website. Together with the update, I did some cleanup of the code for the site, that I am now open-sourcing.
GitHub Pages
As it is easy to guess, this website is hosted on GitHub Pages. GitHub Pages is a free solution offered by GitHub to host static websites, allowing to either write HTML, CSS, and JS code by hand, or to use the Jekyll framework to automatically generate the site from Markdown and Liquid sources. While I personally find Markdown a little simplistic and I would prefer to use a more versatile and structured language for technical writing on the web, such as reStructuredText, the combination with Liquid and other Jekyll features somehow compensates for its weaknesses and makes it a sufficiently expressive tool.
By default, any GitHub repository can automatically generate a website, with the purpose of hosting documentation for the corresponding project. The code for the website is stored in a branch named gh-pages, and the corresponding site is published at <repository-name>.github.io. Moreover, each user or organisation can host a personal site by creating a repository named <username>.github.io, where <username> is the name of the user or organisation on GitHub. In this case, the sources of the site can be stored in the master branch.
Bibliography management and Jekyll Scholar
When I first put together my website, I decided to start simple and rely on a minimal GitHub Pages setup, so in the early posts I just wrote the bibliographical entries as plain text, using HTML anchors to jump to citations in the bibliography section. Since the posts grew bigger and with a longer reference list, it quickly became clear that such way of working was not going to scale up well.
The subsequent decision was to migrate to a bibliography management tool. Since I habitually work with TeX and BibTeX, the obvious choice was to move to Jekyll Scholar, a plugin that is more or less the equivalent of biblatex or natbib for the Jekyll world. It allows to store bibliographical entries in a standard BibTeX file, and defines some commands to create in-line citations (similarly to the \cite{} command in LaTeX). A rich and flexible set of configuration options can be specified in the Jekyll _config.yml, and it is possible to fully define the citation style using the Citation Style Language (CLS).
Adding Jekyll Scholar to the configuration is straightforward, and it only requires to replace the github-pages gem with the jekyll and jekyll-scholar in the Gemfile and _config.yml.
A bit of customisations
While Jekyll Scholar works out-of-the-box for most use cases, I decided to tweak a handful settings to better fit my needs. I opted for the IEEE style, since it is the one I most often use in my work, and one change I made was to allow inserting a hyperlink in the title of an entry in the bibliography, that looks to me like the most natural way of formatting a citation on the web. To do so, I created a custom version of the IEEE stylesheet from the CLS repository, simply adding an HTML <a> tag to the title if the url field in the corresponding BibTeX entry is filled.1
<choose>
<if variable="URL">
<text variable="URL" prefix="<a href="" suffix="">"/>
<text variable="title" quotes="true" suffix="</a>"/>
</if>
<else>
<text variable="title" quotes="true"/>
</else>
</choose>
To fully reproduce the IEEE style, the numbers in each bibliographical entry should be enclosed within square brackets, and it is possible to achieve this with a few line of CSS, altering the style of the <li> items in the bibliography. The numbering is contained in the :before pseudo-element of each list item, and the content property allows to define a custom template for the ordinal. Fixing the width and using a negative margin-left allows to shift the numbering to the left, out of the text column, as it would appear in a bibliography generated with LaTeX.
ol.bibliography {
  counter-reset: item
}

ol.bibliography li {
  list-style-type: none;
  margin: 30px 0;
}

ol.bibliography li:before {
  content: "[" counter(item) "] ";
  counter-increment: item;
  position: absolute;
  text-align: right;
  width: 4em;
  margin-left: -4.4em;
}
Since my theme includes a fixed bar on the top, adjusting the scroll padding prevents it from covering the text when jumping to anchors such as citations or footnotes.
html {
  scroll-padding-top: 50px; /* compensate for the navigation bar height */
}
Automated build
While Jekyll Scholar seems a perfect fit for the task, there is a small catch. For obvious security reasons, GitHub Pages does not allow to run arbitrary Ruby code in its build process, therefore it is not possible to use third-party Jekyll modules at will, and only a restricted handful of selected Ruby gems can be loaded. Unfortunately, Jekyll Scholar is not among those, so it is not possible to use it and at the same time rely on the automated GitHub Pages build system.
Since GitHub Pages allows to upload pre-built HTML and CSS for the site as an alternative to the Jekyll sources, a solution is to set up a continuous integration pipeline to build the site on each push and publish the build output on the master branch. Several well known CI systems such as Travis, AppVeyor, and CicleCI offer good integration with GitHub and have been around for years. However, GitHub recently launched its in-house continuous integration system, GitHub Actions, and I decided to use it for this task.
GitHub Actions to the rescue
GitHub Actions is conceptually similarly to its predecessors, and its configuration consists of workflows composed of one or more jobs, where each job is a sequence of build steps. Each step is described by a bash script, and the whole configuration is defined in a YAML file stored within the repository, in the .github/workflows folder.
So far, everything seems fairly consistent with other popular CI services. However, one interesting feature of GitHub Actions is that it is possible to define build steps (the so-called actions) as re-usable blocks, whose code is stored within a GitHub repository and it is published on the GitHub Marketplace.
A simple workflow with one job looks similar to the following. The code is mostly self-explanatory, and it is possible to observe how a common action such as git checkout is not coded explicitly, but uses the actions/checkout from the Marketplace. For stability and reproducibility, the action invoked in the build is pinned to a specific version (v1 in this example). It is also worth noting how easily the workflow integrates with GitHub: a secret token to perform restricted actions on the repository, such as a git push, is automatically generated and exposed (as ${{secrets.GITHUB_TOKEN}}) with no need to perform any configuration steps at all on the repository side.
name: My Workflow

on:
  push:
    branches:
    - source

jobs:
  MyJob:
    runs-on: ubuntu-latest
    steps:
    - name: Checkout
      uses: actions/checkout@v1
      with:
        ref: source
    - name: Build
      run: |
        make all
    - name: Deploy
      env:
        GITHUB_TOKEN: ${{secrets.GITHUB_TOKEN}}
      run: |
        ./deploy.sh "${GITHUB_TOKEN}"
Since most CI workflows involve a lot of common steps, being able to redistribute canned actions as ready-to-use packages greatly helps code reuse and simplifies the configuration of workflows. Obviously, relying on pre-packed code introduces external dependencies in the build process but, as long as each action is pinned to a known version, it is possible to find a good balance between not re-inventing the wheel and not relying too much on external resources.
Coding the build and deployment
With these ingredients, it is possible to set up a fully automated build and deployment pipeline for our website. In order to perform a Jekyll build, a Ruby environment is required, and for this purpose it is possible to use the actions/setup-ruby Action, that will perform the required set-up for us.
- name: Set up Ruby 2.6
  uses: actions/setup-ruby@v1
  with:
    ruby-version: 2.6.x
The actual build step is then straightforward:
- name: Build Jekyll site
  run: |
    set -xo pipefail
    rm -rf _site/*
    gem install bundler
    bundle install
    bundle exec jekyll build
    cp CNAME _site/CNAME
Jekyll stores the build artifacts in the _site folder. The last line of the script is just creating a copy of the CNAME file inside the artifact folder, to have it in the final output.
The final step is the deployment of the website, that is performed by committing and pushing the artifacts to the master branch of the website. I moved the Jekyll sources to a branch named source, that I also set as the default branch for the git repository.
Here I explicitly coded the deployment step. The first couple lines set up the git environment. [email protected] is the e-mail address associated to the GitHub Actions bot account, so the commits pushed by the workflow will be clearly visible as such in the repository history. The master branch is checked out, since the output will be committed there.
git config --local user.email "[email protected]"
git config --local user.name "GitHub Action"
git checkout master
The next move is to wipe everything except the build artifacts, stored within the _site directory, and subsequently move the content of the _site folder to the root of the repository.
ls -Q | grep -v _site | xargs rm -rf
mv _site/* .
rm -rf _site
rm -rf .jekyll-cache
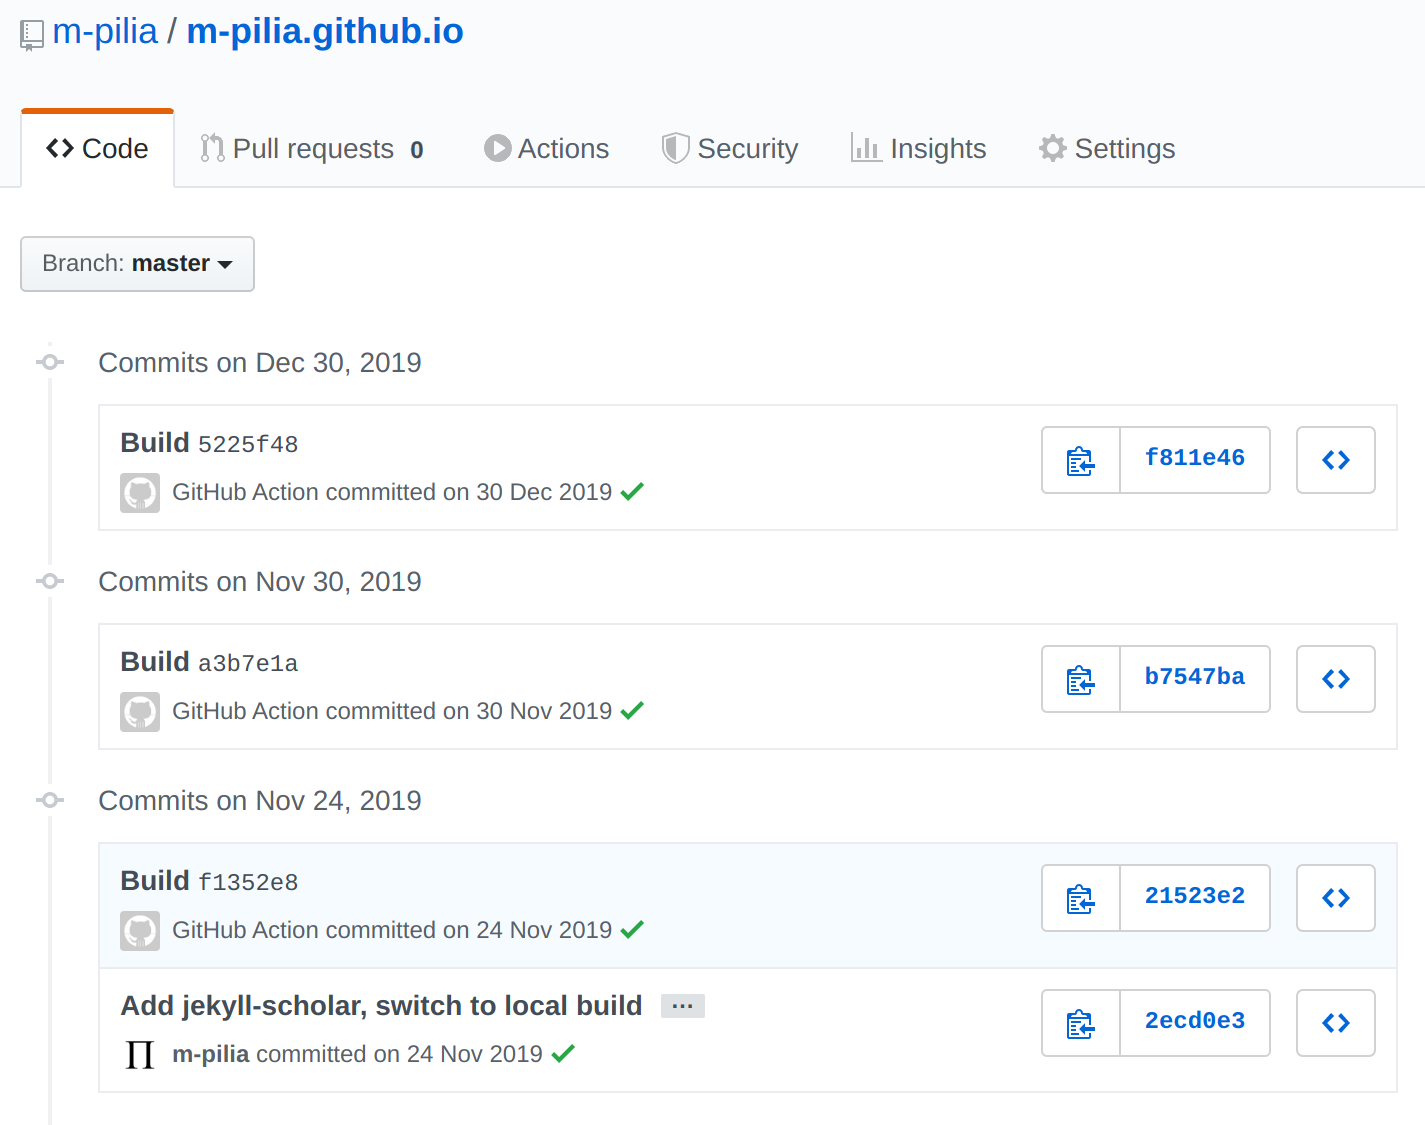
Last but not least, the step checks if anything changed and, if so, it creates a new commit and pushes it to the GitHub repository. To make it easier to backtrack where the changes came from, the SHA of the commit in the source branch used in the build is included in the commit message.
[[ -n "$(git status --porcelain)" ]] || exit 0
git add .
git commit -m "Build $(git rev-parse source | grep -o '^.\{10\}')"
git push "https://${GITHUB_ACTOR}:${GITHUB_TOKEN}@github.com/${GITHUB_REPOSITORY}.git" master
To sum up, the whole deployment step looks as follows:
- name: Deploy
  env:
    GITHUB_TOKEN: ${{secrets.GITHUB_TOKEN}}
  run: |
    set -xo pipefail
    git config --local user.email "[email protected]"
    git config --local user.name "GitHub Action"
    git checkout master
    ls -Q | grep -v _site | xargs rm -rf
    mv _site/* .
    rm -rf _site
    rm -rf .jekyll-cache
    [[ -n "$(git status --porcelain)" ]] || exit 0
    git add .
    git commit -m "Build $(git rev-parse source | grep -o '^.\{10\}')"
    git push "https://${GITHUB_ACTOR}:${GITHUB_TOKEN}@github.com/${GITHUB_REPOSITORY}.git" master
Now, after any commit to the source branch, a corresponding commit with the build output is automatically deployed to the master branch.
The full source code for the website is available on GitHub. Enjoy!
Footnotes
-
On Jekyll 4 and Jekyll Scholar 6, the output from the processing of the CLS is not further parsed by Jekyll and it is treated as literal. In order to insert HTML code in the CLS parsing stage, it is necessary to disable the escaping of HTML code. Kudos to Sylvester Keil for the hint. ↩